
The Lifecycle of an Asphalt Surface: From Installation to Replacement
The Long Game of Asphalt
Asphalt is one of the most commonly used materials for driveways, roads, and parking lots due to its cost-effectiveness, strength, and smooth finish. However, even the best asphalt surfaces are not built to last forever. Like any construction material, asphalt goes through a natural lifecycle—from installation and curing to eventual wear and replacement. Understanding each stage of the asphalt lifecycle can help property owners make better decisions about installation timing, routine maintenance, and when it’s time to replace or resurface. This guide walks through each major phase of an asphalt surface’s lifespan.
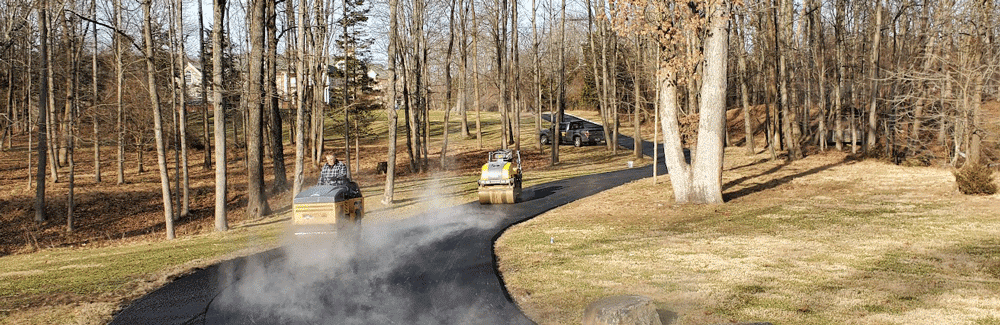
Phase 1: Installation and Curing
The first phase of the asphalt lifecycle begins with proper installation. This involves site preparation, grading for drainage, laying a strong aggregate base, and then applying hot mix asphalt. Once laid, the asphalt must be compacted quickly while it’s still hot to achieve a smooth, even surface. After installation, the surface needs time to cure. While it can usually be used within 24 to 48 hours, full curing can take up to 12 months. During this time, the asphalt continues to harden as oils evaporate and the surface settles into place.
Phase 2: The First Few Years – Peak Performance
Once fully cured, asphalt enters its peak performance stage. During the first 3 to 5 years, the pavement remains flexible and resilient, able to withstand heavy use with minimal wear. At this point, preventative maintenance such as light sealcoating or routine inspections is usually all that’s needed. The surface maintains its rich black color and smooth finish. However, while the surface may look perfect, UV rays, water infiltration, and vehicle traffic begin to cause subtle changes in the asphalt’s composition.
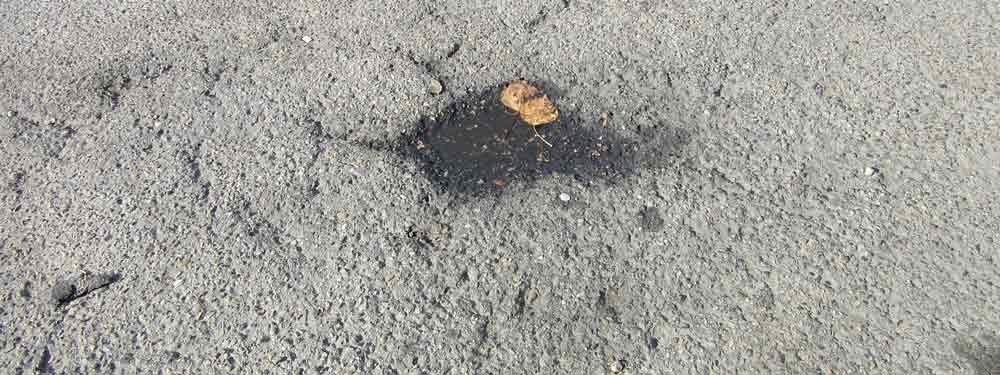
Phase 3: Mid-Life Maintenance and Minor Repairs
From years 5 to 10, the asphalt starts to show signs of aging. Oxidation from sun exposure causes fading, while minor surface cracks may appear due to thermal expansion and contraction. Small potholes might form in high-traffic areas or places with poor drainage. This is the time to take action. Routine crack filling, patching, and sealcoating every few years can significantly extend the lifespan of the asphalt. Preventing water infiltration and reinforcing the surface at this stage is critical to avoid costlier damage down the line.
Phase 4: Late Stage Wear and Full Replacement
By the time asphalt reaches 15 to 20 years old, the signs of wear become more pronounced. Deep cracks, extensive potholes, alligator cracking, and uneven surfaces signal that the foundation may be compromised. At this stage, minor repairs are no longer cost-effective. Full resurfacing or complete replacement becomes necessary. Resurfacing involves removing the top layer and applying fresh asphalt. If the sub-base is also damaged, full-depth reconstruction is required. Knowing when to replace versus repair is key to preventing structural issues and safety hazards.
Conclusion: A Smart Approach to Asphalt Longevity
Managing the lifecycle of an asphalt surface is all about timing. Proper installation, proactive maintenance, and knowing when to repair versus replace can save property owners time, money, and frustration. Each phase—installation, early use, mid-life maintenance, and eventual replacement—presents opportunities to maximize value and extend durability. Whether you’re planning a new driveway or maintaining a busy parking lot, working with a professional paving contractor ensures each stage of the asphalt lifecycle is handled with precision and care.


